How to Prep Your Doors and Windows for Winter
10/08/2021, 1:18 PM

A tight seal around your doors and windows in the winter can help you save money on energy costs. However, when there are gaps between these openings and the wall, they can bring uncomfortable drafts into your home, making your HVAC system work harder. Instead of investing in brand-new windows and doors every time you notice damage, you can change out some faulty hardware to get them working like new again.
Before you turn on the furnace and prepare for a drop in temperatures, you might want to inspect your doors and windows for broken parts and repair them as needed. Keep these tips in mind as you get your property ready for the cold winter.
1. Fix Broken Windows and Doors
It’s essential to make sure all your windows and doors are in excellent condition before the winter, so they have a tight seal to keep all the heat from your furnace in your home. Some people choose to replace their broken windows or doors, but changing them all out could use up time and money you might not want to spend. Instead, you can get the same results by upgrading faulty parts.
Go through each room in your house and note which doors or windows need repairs. Try opening and closing them to test the integrity of your door hinges and handles. After inspecting your property, you can follow these tips for fixing your broken doors and windows.
Replace Broken Door Locks
Faulty door locks can freeze in cold temperatures, and they can become difficult to unlock when they have dirt and debris stuck inside. Before it gets too cold outside, inspect the locks on your entry doors. Replace loose, broken or stuck locks to maintain a tight seal between your door and keep your family safe. If you want to upgrade from the traditional deadbolt configuration, consider the following other types:
- Multipoint handle: A swing door multipoint handle lock features a continuous travel drive rail that controls all its components when you lift the door handle. This configuration provides enhanced stability and security, especially for oversized or bulky swing doors. It can also withstand temperature changes to last a long time on your property.
- Sliding door: Besides the front entry door, you might have sliding doors leading into your backyard. If you notice any damage to the locks, you can upgrade to one with durable heavy-gauge construction for additional safety.
- Europrofile: The Europrofile lock is affordable and easy to install. Since it’s relatively new to the American market, it gives your door a unique, eye-catching design, contrasting most homes in your neighborhood.
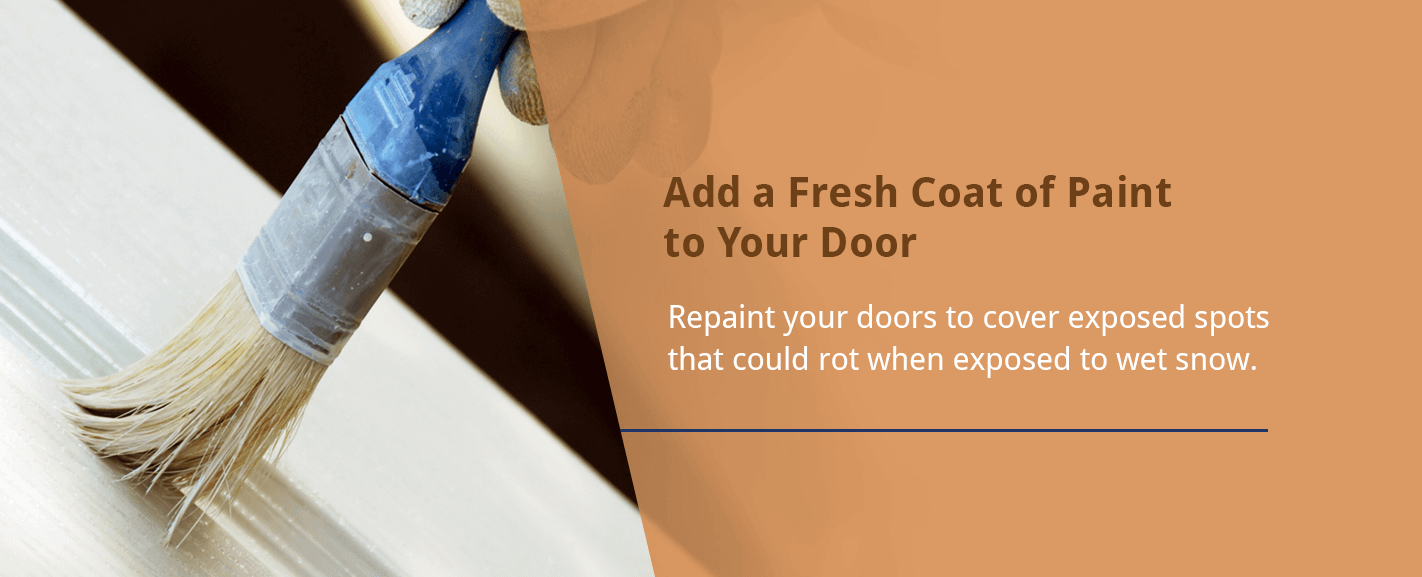
Add a Fresh Coat of Paint to Your Door
Repaint your doors to cover exposed spots that could rot when exposed to wet snow. A fresh coat of paint can help brighten up your home’s exterior during the darkest time of the year. Painting your door can also add a small layer of insulation to keep the heat inside your property.
It’s best to paint your entry door before it gets cold and snowy, on a sunny day with a pleasant temperature. Make sure you choose the right color for your entry door to complement your property’s architectural style and create a memorable first impression for your guests. If you have a storm door to protect your indoor living space from the outside, you can remove your entry door from the hinges to paint it more conveniently.
Clean Window and Sliding Door Tracks
Clean the dirt and grime out of your sliding door and window tracks to create a tight seal. Follow these steps clean all your windows and sliding doors:
- Open the window or door as wide as it’ll go.
- Remove the screen and set it aside.
- Suck up all the loose debris with a vacuum.
- Sprinkle a generous amount of baking soda into the tracks.
- Mix white vinegar and water into a spray bottle and spritz until you’ve saturated the baking soda.
- Let it sit for several minutes as the baking soda fizzes.
- Spray the vertical tracks with the vinegar solution.
- Put on protective gloves and use an old toothbrush to scrub from the top of the track down to the bottom.
- Brush the horizontal track from one end to the other.
- Using a paper towel, wipe the debris off the vertical track from top to bottom.
- Do the same thing for the horizontal track, but use a clean paper towel.
- Clean the corners with a dry rag.
- Lightly spray the vinegar solution and wipe with a clean rag.
Replace Broken Window Locks
If you have double-hung windows, you should make sure your window locks close tightly to prevent air leaks. Replace your window’s worn-out, broken sash locks by following these tips:
- Drill out the rivets while holding the old sash in place and remove the old locking mechanism.
- Put the new lock in place over the sash.
- Secure the new lock with pop rivets.
- Drive the new rivets into the old rivet holes.
2. Eliminate Drafts With Weatherstripping
As you inspect all the windows and doors in your house, check for gaps or cracks that leak air into the home. Weatherstripping allows you to seal the gaps and keep your existing door or window from allowing outside air into your home. However, weatherstripping becomes worn out and loose over time and needs a replacement. Consider these tips when checking and replacing your weatherstripping.
Test for Drafts
Checking your property for drafts will help you determine where you need to install new weatherstripping on your doors and windows. If the air is noticeably cold near your window or door, there might be cracks or gaps in the frame. If you’ve installed weatherstripping before, check the existing material throughout your property and replace it if necessary.
Test your windows and doors on a windy day, when you might feel a breeze in your property. For the best results, close all the windows and doors and turn off your HVAC system before conducting the test. Hold a lit candle or a piece of toilet paper near the frame’s seams and watch for movement. If the flame or paper bends, outside air is pushing through the gaps around your door or window.
Remove Damaged Weatherstripping
Check for signs of damage on your weatherstripping based on its material:
- Foam tape might lose its form, and the adhesive could become loose.
- Rubber and vinyl become cracked, dry and brittle.
- Metal weatherstripping bends out of shape and develops cracks.
To remove worn-out foam weatherstripping from your windows, cut it off with a razor blade. Since an entry door usually requires vinyl or metal weatherstripping, you’d need to take off the damaged material with a pry bar and hammer. After removing the old weatherstripping, clean the area with sandpaper and an adhesive remover to provide a smooth surface for attaching the new material.
Attach New Weatherstripping
Measure the door or window and cut the appropriate lengths for your weatherstripping. To cut the material to size, use a hacksaw for metal and a utility knife for foam or vinyl. Peel the backing off your foam covering to expose the adhesive, carefully pressing it into place. When installing vinyl or metal weatherstripping, cut it to size and attach the pieces with screws or nails to your doors and windows.
If the door is exposed underneath, install a permanent door sweep to prevent drafts. Mark the places where the screws go and drill the holes according to the product’s instructions.
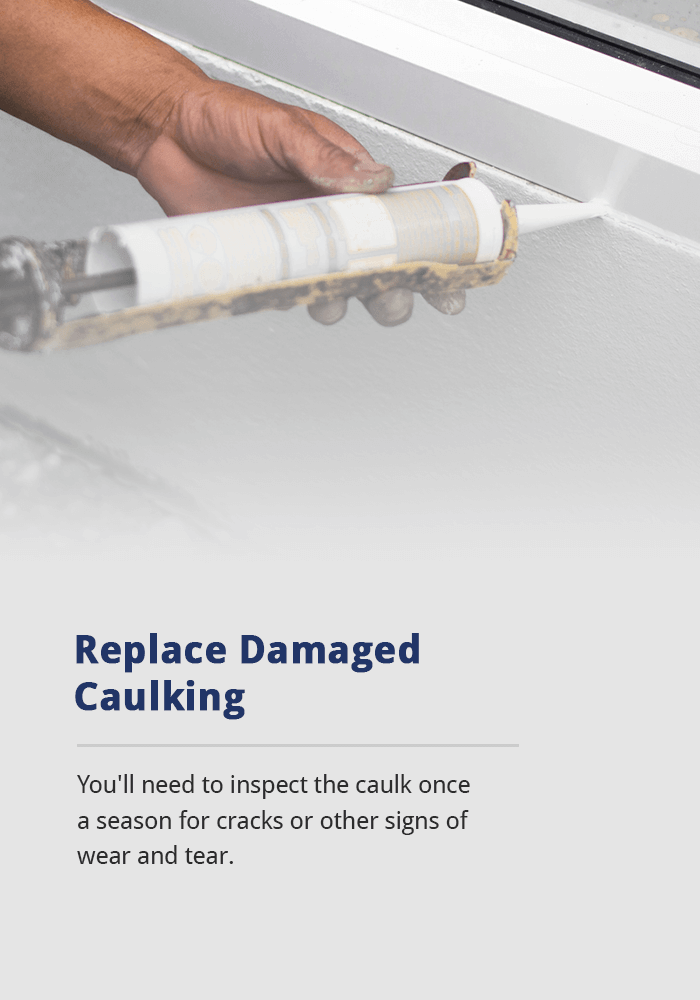
3. Replace Damaged Caulking
Besides the vinyl, metal or foam weatherstripping, you may also have caulk sealing the gaps around your doors and windows. Instead of investing in brand-new windows and doors, you can use caulk as an affordable, temporary solution. You’ll need to inspect the caulk once a season for cracks or other signs of wear and tear. Follow these steps for replacing damaged caulking.
Inspect Caulk and Glazing
Check the caulk on your exterior window or door frames and the glazing around all the panes. Exterior caulk might have dried out in the summer and caused cracks or gaps to develop, resulting in water and air leaking into your home. Besides the gaps around your windows and doors, you may need to replace your window’s glazing periodically as it ages and loosens the seal around the glass. You’d know if you need to update the glazing if the windowpane rattles when you tap on it.
Remove Old Caulk and Glazing
Use caulk softener several hours before removing the caulk to give it a chance to soak. A putty knife should bring the caulk up fairly quickly. Get rid of all the old caulk to give the new layer the appropriate adherence. To take the old glazing off your windows, try heating the putty evenly with a heat gun or glazing iron. After you’ve heated the putty thoroughly, you can remove it with a stiff putty knife.
Apply New Glazing to Your Windows
Before putting new glazing on your windows, clean the glass pane to remove the old material. The glazing needs a dust-free surface so that it adheres properly. Window glazing comes in a small tub, and you apply it with a putty knife or paint scraper. If you’d prefer, you can also get a tube that fits into a caulk gun. Keep in mind that glazing from the tub works better for small areas because the paint scraper allows you to compress the glazing precisely into position.
Work the glazing into the spot with the putty knife until it’s smooth. Re-glazing windows requires a longer dry time than the first glazing. You may have to wait a few days before painting over the glazing once it’s hardened.
Install New Caulk Between Your Windows and Doors
You’ll have to clean the area where you’re going to install the caulk to your windows. The surface should be clear of dirt and debris so the caulk produces an adequate seal. The area also needs to be dry to prevent trapping moisture between your windows. One tube should be enough to seal one whole window. It’s best to follow the manufacturer’s instructions for the best results.
Remember these steps when caulking your windows and doors:
- Cut the tip off the tube at a 45-degree angle to fit snugly into the seam.
- Move the caulk gun along the edge in a smooth motion, applying even pressure to the tube.
- Move more slowly over larger gaps to allow the caulk to fill the space enough.
- Wet your finger and run it along the bead of caulk for a fresh, clean look.
- The caulk should dry in about half a day.
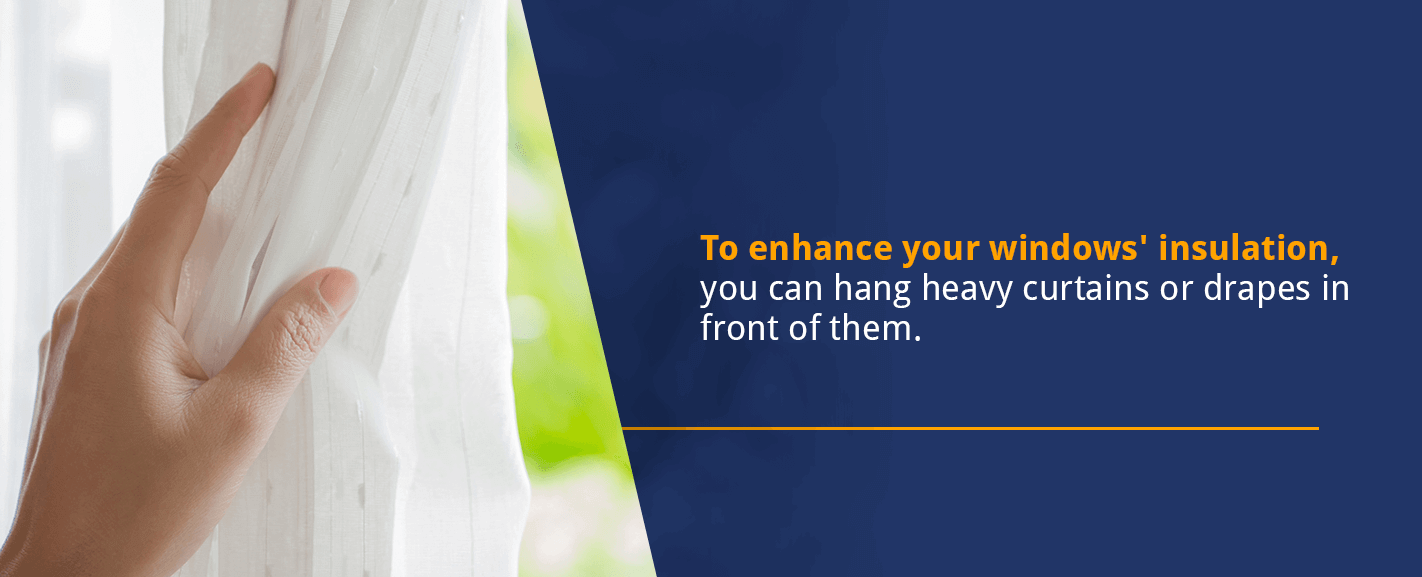
4. Add Insulation in the Form of Curtains or Drapes
To enhance your windows’ insulation, you can hang heavy curtains or drapes in front of them. Drapes can significantly reduce heat loss in the winter when closed as a protective barrier that keeps cold outdoor air from coming into the house. These window treatments come in various colors and materials to complement your home’s design. You can also replace them easily if you ever remodel the room.
The Best Curtains for Insulating Your Windows
Thermal curtains contain several layers of materials to resist heat loss from your home. Most products come with three layers of fabric:
- The decorative layer faces the room to complement its design.
- The middle layer has a thermally resistant material, such as flannel, foam or felt.
- The backing is the lining that protects the inner layer from exposure to direct sunlight. It can also be a vapor barrier against window condensation.
Thermal curtains establish a barrier between the window and the room, reducing the air infiltration and heat transfer between the indoors and outdoors. This insulating curtain keeps heat inside during the winter and reflects heat outside over the summer. Look for a thermal curtain with a high R-value to enhance the insulation of your windows and walls.
How to Install Thermal Curtains
You must install thermal curtains properly for them to control heat transfer in your room. Install your thermal curtains close to the window frame, making sure you seal the bottom, top and sides. Create a proper seal around the window to reduce heat transfer significantly.
Thermal curtains are most effective when they drop to the floor or windowsill. You can also install a valance or cornice above the drapes to reduce air infiltration. To secure the curtain to the frame or adjacent walls, you may want to use Velcro, hooks or magnetic tape. Layering your curtains can also help enhance their insulative qualities.
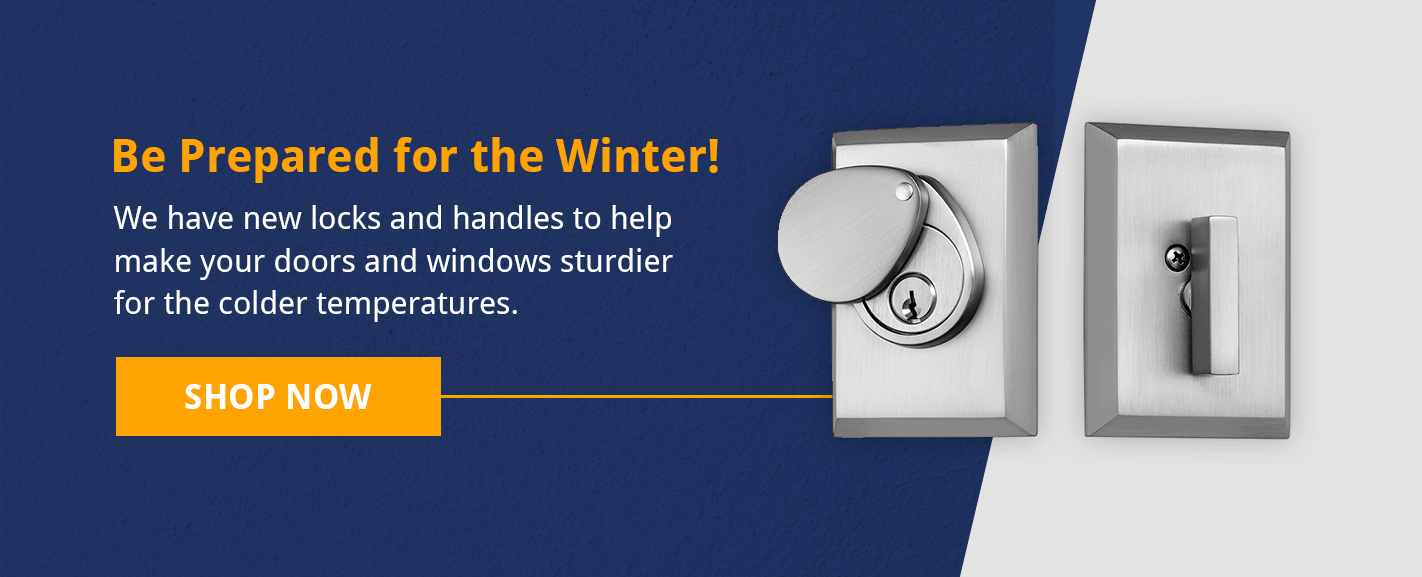
Be Prepared for the Winter!
When you get your doors and windows ready for winter, you can save money on your energy bills. One of the best ways to prevent air leaks is to fix the broken components or replace them with new ones. At Premium Hardware, we offer plenty of residential door and window hardware products.
We have new locks and handles to help make your doors and windows sturdier for the colder temperatures. Please browse through our site to find what you need to repair your doors and windows. For more information about our products, you can also reach out to us online or call 510-296-5584.